TL;DR
- Quick setup: install
puppeteer, launch headless Chrome, take a basic screenshot. - Full-page capture: pass
{ fullPage: true }; save to file. - Stability:
await page.waitForSelector(...)before shooting to ensure the UI is ready. - For scale / rotation and hands-off rendering, use Scrapingdog’s Screenshot API instead of running your own browsers.
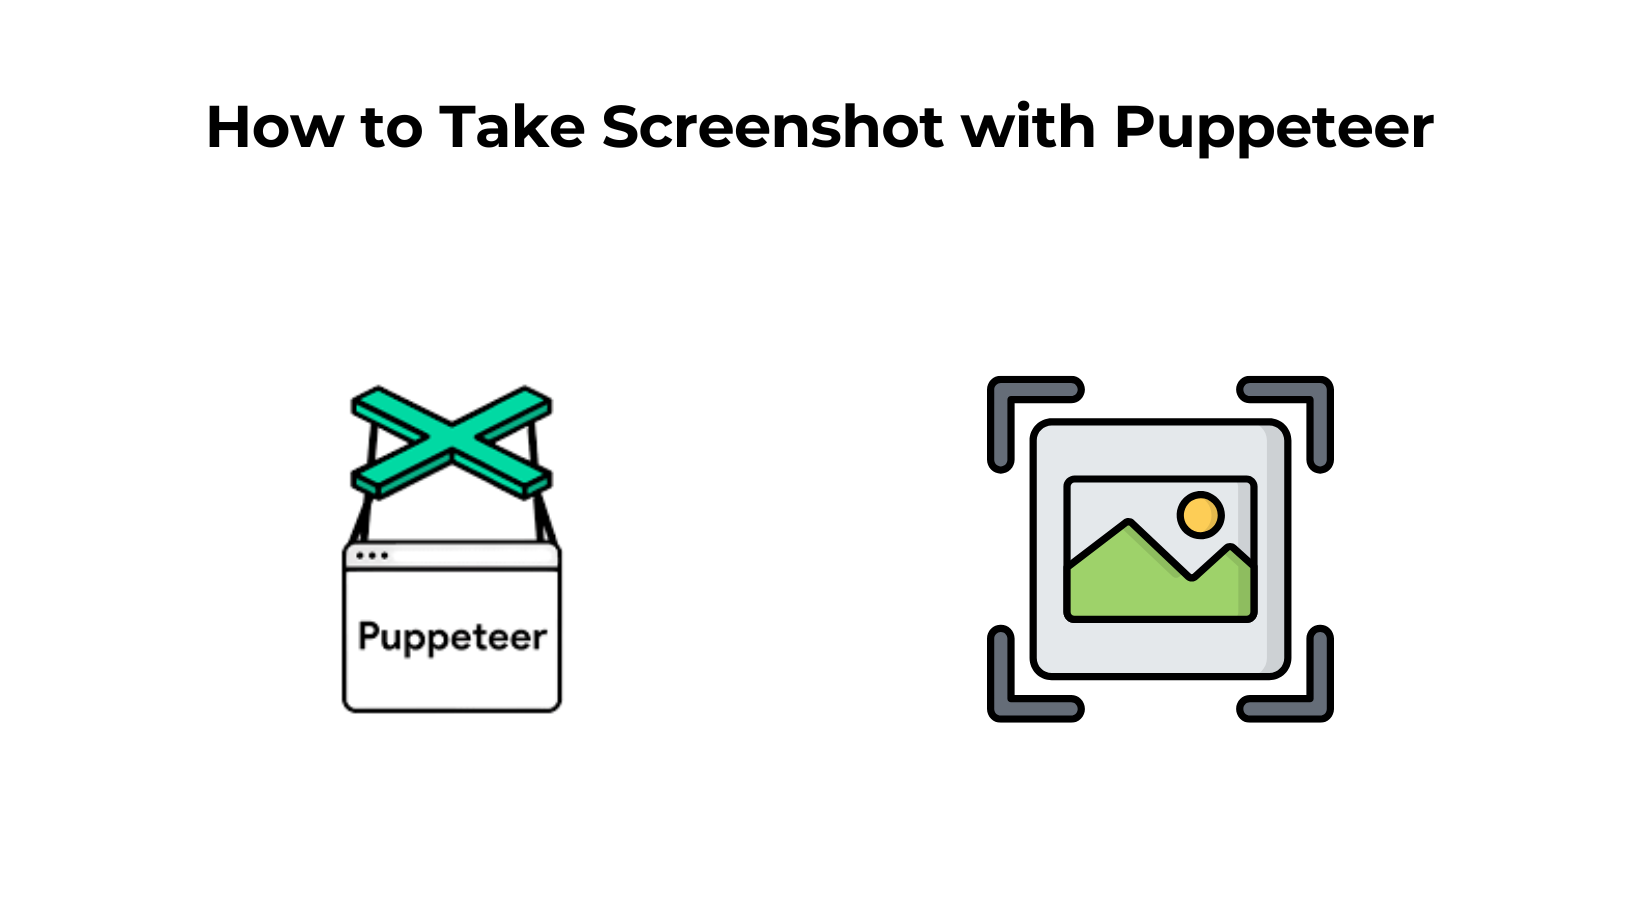
Capturing screenshots with Puppeteer is one of the easiest and most useful ways to automate browser tasks. Whether you’re testing UI changes, generating website previews, or scraping visual data, Puppeteer gives developers precise control over how to capture a page.
In this guide, we’ll walk through everything you need to know about taking screenshots using Puppeteer, from simple single-page captures to full-page.
What is Puppeteer?
Puppeteer is a Node.js library developed by Google that provides a high-level API to control Chrome or Chromium through the DevTools Protocol. It’s widely used for:
- Web scraping and automation
- End-to-end testing
- PDF generation
- Visual regression testing
- Screenshot capture
When you install Puppeteer, it automatically downloads a compatible version of Chromium, so you can get started right away.
Prerequisites
Create a folder by any name your like. I am naming the folder as screenshot.
mkdir screenshot
Now, inside this folder install puppeteer with this command.
					npm init -y
npm install puppeteer
Now, create a js file where you will write your code. I am naming the file as puppy.js. That’s all, our environment is ready.
Taking Our First Screenshot with Puppeteer
					let puppeteer = require('puppeteer');

(async () => {
  let browser = await puppeteer.launch();
  let page = await browser.newPage();
  await page.goto('https://www.scrapingdog.com');
  await page.screenshot({ path: 'screenshot.png' });
  await browser.close();
})();
The code is pretty simple but let me explain it step by step
- Import Puppeteer — Loads the Puppeteer library to control a headless Chrome browser.
- Start an async function — Allows the use of
awaitfor smoother asynchronous execution. - Launch the browser — Opens a new headless (invisible) Chrome instance.
- Create a new page — Opens a fresh browser tab for interaction.
- Go to the target URL — Navigates the page to https://www.scrapingdog.com.
- Capture a screenshot — Takes the screenshot and saves it locally as
screenshot.png. - Close the browser — Ends the session and frees up system resources.
Once you execute the code you will find the screenshot inside your folder screenshot.

How to Capture a Full-Page Screenshot
					let puppeteer = require('puppeteer');

(async () => {
  let browser = await puppeteer.launch();
  let page = await browser.newPage();
  await page.goto('https://www.scrapingdog.com');
  await page.screenshot({ path: 'screenshot.png' , fullPage: true});
  await browser.close();
})();
This ensures Puppeteer scrolls through the page and stitches everything into a single image.

If you don't want to use Puppeteer or any other toolkit for that matter to scale your screenshot generation, you can use Screenshot API. We manage proxies, headless browsers and other corner cases to maintain blockage free screenshots of any number of URLs.
Wait for Elements Before Taking Screenshot
Let’s take a screenshot of google home page once the search box appears.
					let puppeteer = require('puppeteer');

(async () => {
  // 1. Launch a browser
  let browser = await puppeteer.launch({ headless: true});

  // 2. Open a new page
  let page = await browser.newPage();

  // 3. Navigate to the website
  await page.goto('https://www.google.com', { waitUntil: 'domcontentloaded' });

  // 4. Wait for a specific element (Google search box)
  await page.waitForSelector('textarea[name="q"]');

  // 5. Take the screenshot
  await page.screenshot({
    path: 'google.png',
    fullPage: true
  });

  console.log("✅ Screenshot taken after search box loaded!");

  // 6. Close the browser
  await browser.close();
})();
The code is almost similar we have just used waitForSelector to pause execution until a particular element appears in the DOM.
Conclusion
Puppeteer makes taking screenshots in Node.js fast, flexible, and reliable — whether you’re capturing a simple webpage, an entire site, or specific UI components.
With just a few lines of code, you can automate screenshot generation for monitoring, reporting, or testing.
If you’re already using automation tools or APIs, Puppeteer integrates perfectly into your workflow for capturing website visuals at scale.